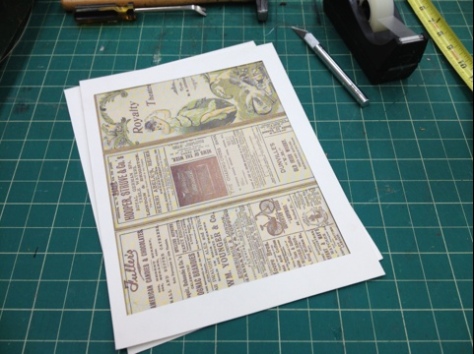
As you may have noticed in my last post. The walls of the Hay Fever set was covered in pictures, draperies and photographs. We spent several days in the prop shop getting all that artwork ready to be hung so I thought I would do a short post on how to properly frame a picture.
Things you will need:
- Measuring tape or Ruler
- Metal straight edge
- X-Acto knife
- Small Hammer
- staple remover
- a large piece of acid free mat board
- cutting board or surface
- a new or old frame
- picture hanging hardware (kits can be found at most hardware stores)
- finish nails (about 9)
- acid free tape
- your artwork
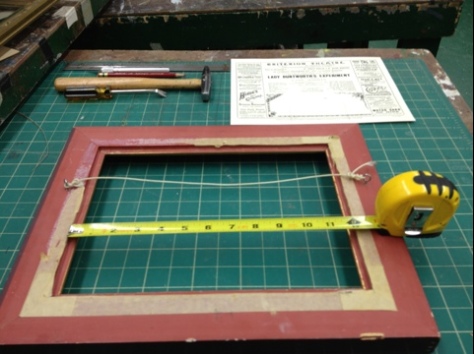
1) Remove all the old hardware from the back of your frame. Also remove any nails or staples that may have been used to secure the previous picture.
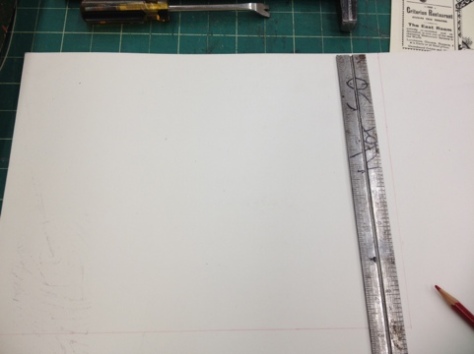
2) Measure the back of your frame. Transfer those measurements to your piece of mat board and carefully cut out two identical pieces. This first piece is going to be the backing for your picture while the second will be used to frame the image.
3) Check that both pieces can fit into your fame snuggly. Then put the first piece aside.
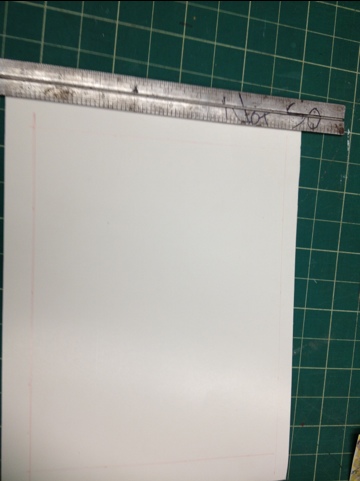
4) Measure your piece of artwork and decide how much the mat board frame should overlap the edges of your art. There should be at least half a centimeter overlap on each side. Then transfer those measurements to the second piece of mat board making sure to keep everything centered.
5) Cut out the frame and see how it looks. Is the overlap covering too much? Too little? Feel free to adjust however you need to. When you are ready add a small piece of acid free tape to the back of both the artwork and the mat frame at the top center and bottom center. This will hold it in place.
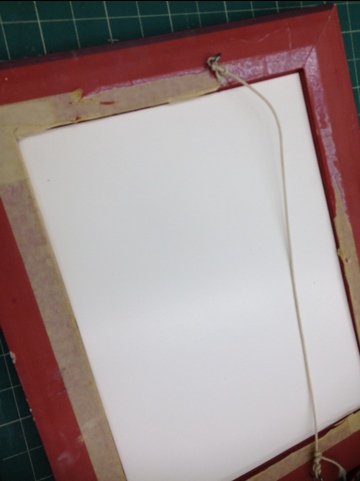
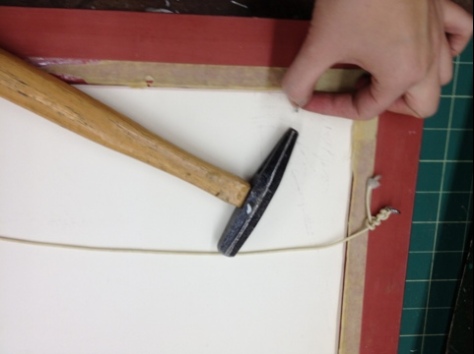
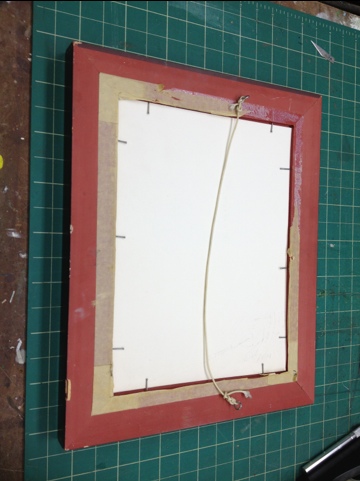
6) Place the mat board frame, artwork and mat board backing into the frame. Take the finish nails and tap into the wood frame as close to the mat board as possible without damaging the mat board. I find that it works to put the nails in at a 45 degree angle to the matting.
7) put in as many nails as you need to keep the picture secure. Then attach the hanging hardware to the back of the frame.
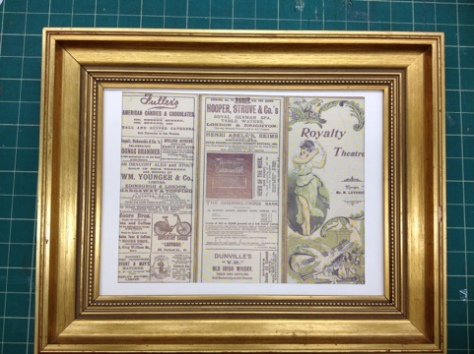
8) Flip over and double-check that you like what you see. And your are done!
